This is a static mirror of http://myy.haaga-helia.fi/~a0602523/linuxgps/, crawled 2009-06-16.
Using GPS with Linux
Introduction
In this project I'm trying to build a Linux laptop, which would be capable of locating itself with GPS and showing the current location on a map.
I got the idea by figuring out what to do with an old laptop and a bluetooth GPS receiver, which were gathering dust on my desk. Only thing what I was missing was a Bluetooth USB dongle. After I bought a generic Bluetooth dongle, I had all hardware what was needed.
I decided to install a Linux distribution to the laptop, which would be light enough to be run on it. I chose to install Xubuntu Linux. It's basicly a derivate from Ubuntu Linux, the difference is that it uses XFCE instead of Gnome as the window manager.
What's used in the project?
Laptop:Compaq Armada M300
|
 |
GPS receiver:Insmat BT-338 with INS SiRF III chipset |

|
Bluetooth USB dongle:Generic Trust USB dongle |

|
Installation media
I downloaded the .iso image of Xubuntu 8.10 (Intrepid Ibex) from http://www.xubuntu.org/get and burned it to a CD.
Xubuntu installation
I set the laptop to boot from CD and rebooted to fire up the installation.
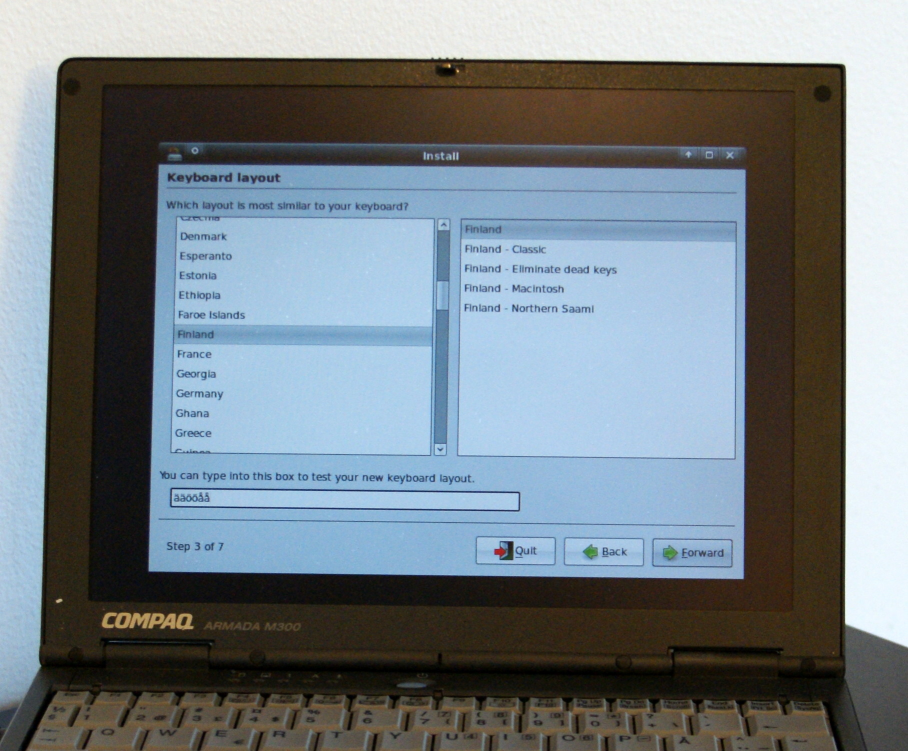
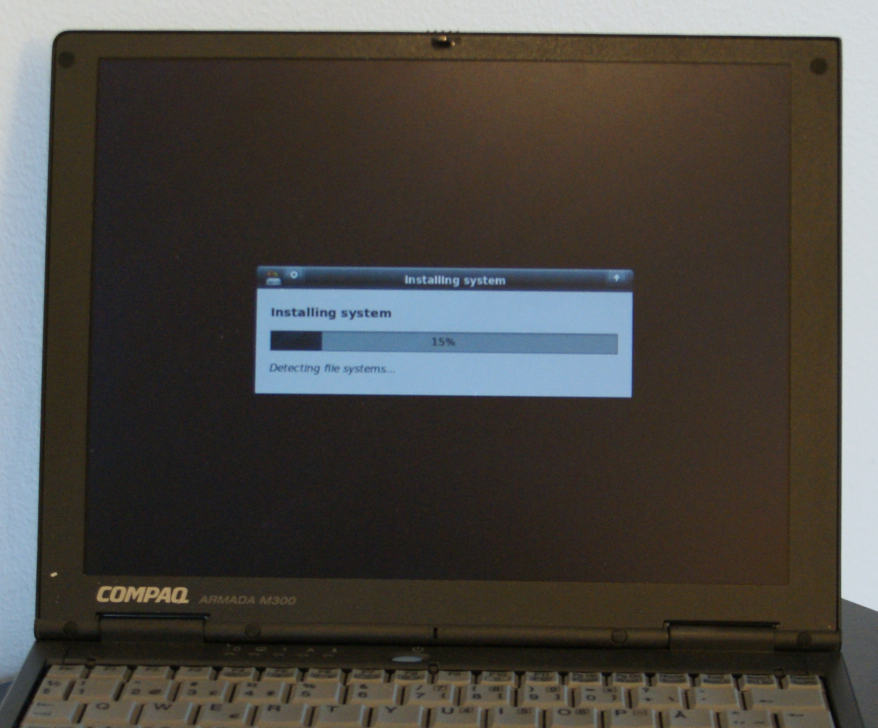
The installation was easy, it asked a few basic questions like language, keyboard layout and howto partition disk. After answering those it copied the files to the hard disk. After reboot I got login.


Installing the GPS software
After I had installed Xubuntu, I updated the system and installed the needed software with running these commands in Terminal:
$ sudo apt-get update
$ sudo apt-get upgrade
$ sudo apt-get install gpsd gpsd-clients
After doing that I begun the configuration of Bluetooth. I plugged in the Bluetooth dongle and turned the GPS receiver on. I ran the following command to find out the MAC address of the GPS device:
$ hcitool scan
I got the following as the result:
Scanning...
	00:0D:B5:31:53:5A	BT-GPS-31535A
If you don't get any results, your GPS receiver is most likely out of range.
Next I added the GPS device to the file /etc/bluetooth/rfcomm.conf with:
$ sudo nano /etc/bluetooth/rfcomm.conf
After adding the new device, the file looked like this:rfcomm0 {
# Automatically bind the device at startup
bind yes;
# Bluetooth address of the device
device 00:0D:B5:31:53:5A;
# RFCOMM channel for the connection
channel 1;
# Description of the connection
comment "Bluetooth GPS";
}
Before the GPS signal can be received, the GPS Daemon must be started:
$ gpsd /dev/rfcomm0
Now the GPS signal should be available for applications. It can be tried by running:
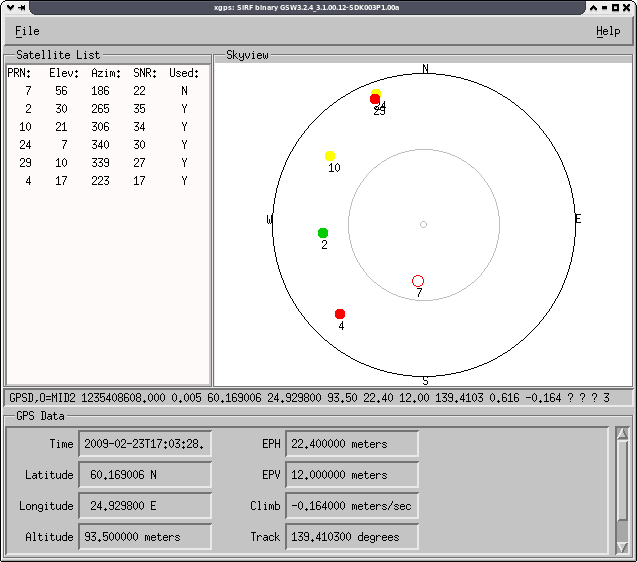
$ xgps
Xgps should look similar to this, when the GPS signal is available:

Installing Navit
To get a location on a map, I decided to install Navit. It cannot be installed straight away with apt-get. The following packages needs to be installed, before Navit can be compiled:
$ sudo apt-get install build-essential
$ sudo apt-get install pkg-config
$ sudo apt-get install automake
$ sudo apt-get install libglib2.0-dev
$ sudo apt-get install libtiff-dev
$ sudo apt-get install libtool
$ sudo apt-get install libsmu-dev
$ sudo apt-get install libfribidi-dev
$ sudo apt-get install gettext
$ sudo apt-get install cvs
$ sudo apt-get install libdbus-glib-1-dev
$ sudo apt-get install libgtk2.0-dev
$ sudo apt-get install msttcorefonts
$ sudo apt-get install subversion
After installing the needed packages, I downloaded the source code to my home directory:
$ cd ~
$ svn co https://navit.svn.sourceforge.net/svnroot/navit/trunk/navit/navit-source
Next step was to run the scripts, which prepare the source codes for compilation. I chose to point the Navit configuration to my home directory, so that it won't install itself to the usual directories later on.
$ cd navit-source
$ ./autogen.sh
$ ./configure --prefix=/home/*username*/navit
The actual compilation is fired up with:
$ make
$ make install
$ cd ../navit/bin
$ ./navit
Navit ran fine, so the compilation had been a success.
Configuring Navit
Now I needed some maps for it. I downloaded the Open Street Maps for Europe from http://downloads.cloudmade.com/europe/europe.navit.bin.zip.
I unpacked the maps with:
$ unzip europe.navit.bin.zip
$ mv europe.navit.bin /home/*username*/navit/share/navit/maps/
To get the new maps working I changed the configuration file:
$ nano -w ~/navit/share/navit/navit.xml
from<mapset enabled="yes"> <xi:include href="$NAVIT_SHAREDIR/maps/*.xml"/> </mapset> <mapset enabled="no"> <map type="binfile" enabled="yes" data="/media/mmc2/MapsNavit/osm_europe.bin"/> </mapset>to
<mapset enabled="no">
	<xi:include href="$NAVIT_SHAREDIR/maps/*.xml"/>
</mapset>

<mapset enabled="yes">
	<map type="binfile" enabled="yes" data="/home/*username*/navit/

	share/navit/maps/europe.navit.bin"/>
</mapset>
I noticed that Navit didn't work with GPSD for some reason as xgps did, so I modified the configuration file again from:
<vehicle name="Local GPS" profilename="car" enabled="yes" active="1"to
source="gpsd://localhost" gpsd_query="w+xj" color="#0000ff">
<vehicle name="Local GPS" profilename="car" enabled="yes" active="1"

source="file:/dev/rfcomm0" gpsd_query="w+xj" color="#0000ff">
Next I looked up the PID of the GPSD so that I could kill it. Otherwise Navit wouldn't be able to use the /dev/rfcomm0 device.
$ ps -fu *username*|grep gpsd
*username* 5461 1 0 21:21 ? 00:00:02 gpsd /dev/rfcomm0
In my case the PID was 5461. Proceeded to kill the GSPD:
$ kill 5461
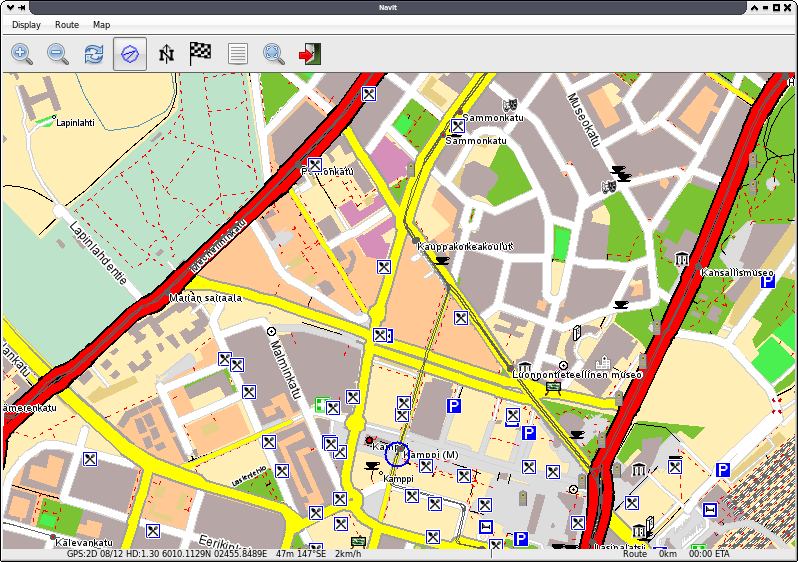
After that I ran Navit again and found out that it worked with the new settings.
