 Git is the most popular version control system. With Git, you can easily work as a team with your friends, have automatic backups on multiple machines and learn a tool you can use at work. GitHub is a proprietary, free-as-in-beer service for publishing your work.
This article shows how a beginner can start a new project on GitHub. After the initial setup, you only need one command line
$ git add . && git commit; git pull && git push
Prequisites: You should know Linux command line.
This article has not yet been extensively tested, but I do use git a lot in my daily work.
Git is the most popular version control system. I use git in my programming projects, for configuration management – and when writing many of my books. Working as a team is much easier with a version control system. Git is also used in bigger projects, such as the Linux kernel.
Register a GitHub Account
 Go to GitHub.com and register a new account (user name, email, password; “Sign up for GitHub”).
Create a New Repository
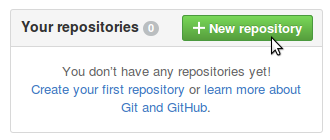
 Create a new repository (Your GitHub homepage after logging in, “+ New repository”)
On the “Create a new repository” page:
- Repository name: simple, short, lowercase name for your project. Will be a folder name in Linux and Windows
- Description: explain in one English sentence what your program does. Use the same single sentence everywhere, such as man pages and project homepage
- Public: so that someone can actually use your project
- Add a license: always decide on a license. A license tells what other people are allowed to do with your code. “GNU General Public License v3.0” is a good choice for a Free software project.
- “Create a repository”
First Time Git Setup
$ sudo apt-get update
$ sudo apt-get -y install git
Tell git your name and email. Your teammates will look at this information on ‘git log’, so use your real name.
$ git config --global user.email "tonystudent@example.com"
$ git config --global user.name "Tony Student"
Remember password for one hour (60*60 seconds):
$ git config --global credential.helper "cache --timeout=3600"
Clone a Repository
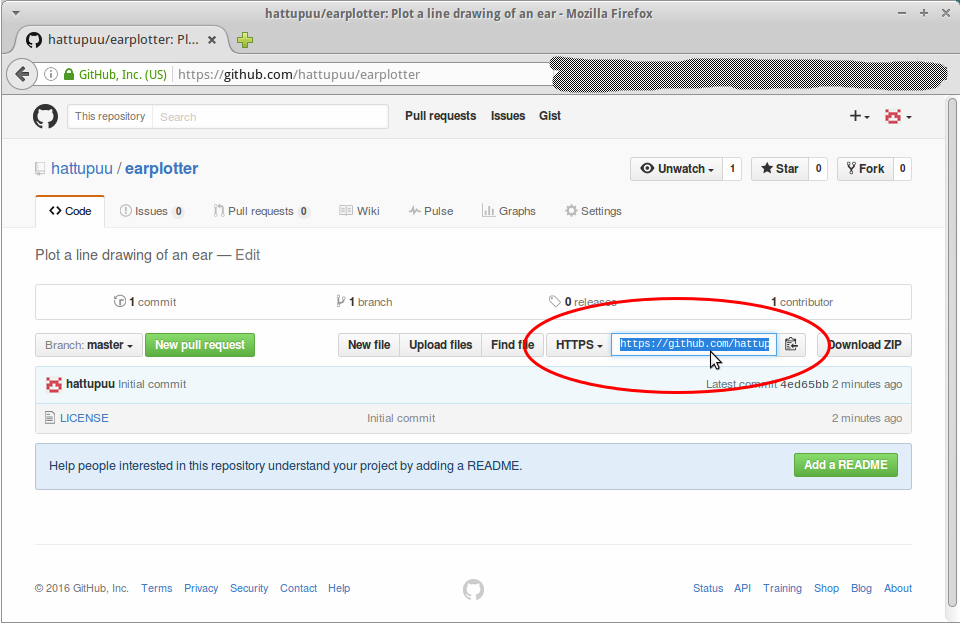
$ git clone https://github.com/hattupuu/earplotter.git
$ cd earplotter/
Normal Git Use
When you start using git, synchronize your clone to latests changes.
$ git add . && git commit; git pull && git push
Give your GitHub username and password when asked. These are the credentials you just registered on GitHub.com.
Modify something. For example, ‘nano README’, write some text, save it (ctrl-X, y, enter). When asked, give a clear commit message in plain English “Add README”. Give the same command line to synchronize your changes. (‘git add . && git commit; git pull && git push’).
Whenever you modify something, you can just give this command line to commit your changes and synch with the upstream repository. Then all other users will get your changes.
Enjoy Life
Now you can edit your files everywhere. Whenever you want to synchronize your changes, give the same command line
$ git add . && git commit; git pull && git push
Is there more to git? Yes, but you probably don’t need it at start.
Read also
Official Git documentation and the Pro Git book
GitHub Help
UPDATE: added credentials caching


‘git push’ with GitHub 2FA
How to use vanilla command line git with GitHub two factor authentication? Create an authentication token in GitHub web interface and use the token as a password.
Settings: Developer settings: Personal access tokens: Generate new token
$ git clone https://github.com/LOGIN/repo.git
Username: LOGIN
Password: TOKEN
https://help.github.com/articles/creating-a-personal-access-token-for-the-command-line/
This works. But when you get the token remember to copy your token key before you close the tab or browser because you won’t be able to see it again!